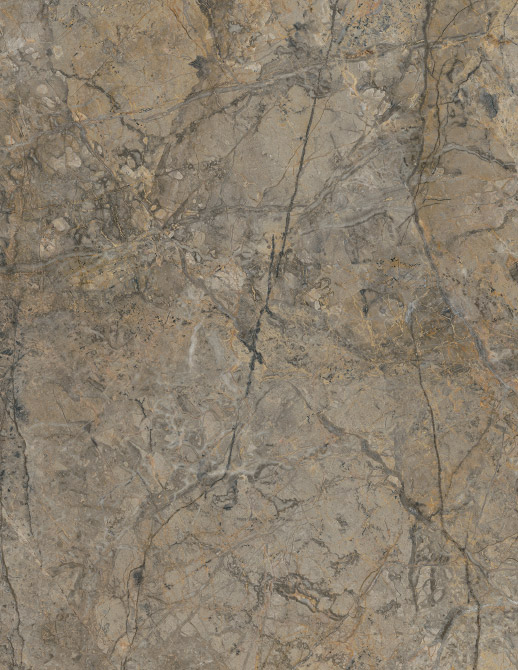
When it comes to enhancing your home with a blend of style and durability, Rocko Tiles are the perfect choice. As a top seller in the Kronospan product family, these waterproof wall panels offer unparalleled functionality and aesthetic appeal. Let’s dive into what makes Rocko Tiles a standout option for any room in your home.

What are Rocko Tiles?
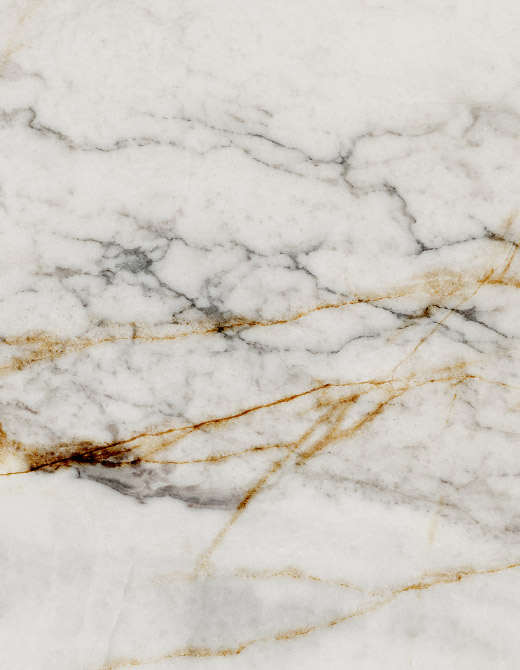
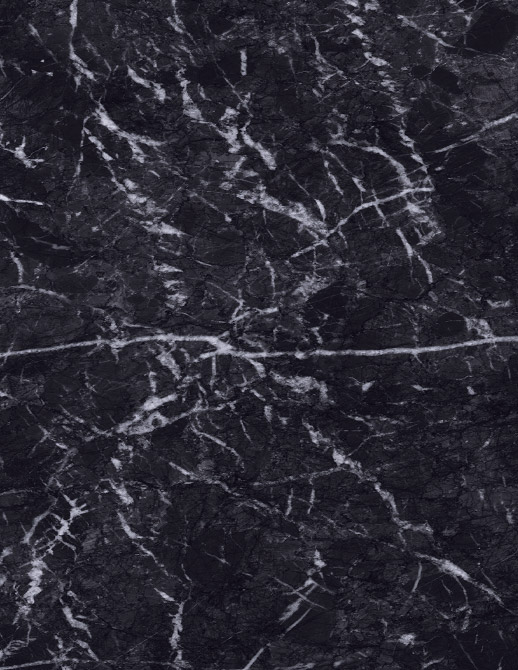
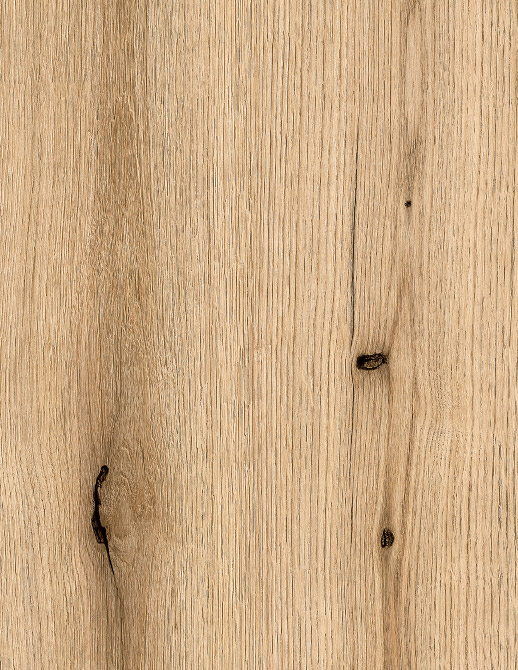
Rocko Tiles are engineered using Stone Plastic Composite (SPC) technology, making them completely waterproof and incredibly resilient. They mimic the natural look of materials like wood, marble, and stone through advanced digital printing, offering a wide selection of designs to suit any decor. These tiles are not only stylish but also practical, being fire-resistant, scratch-resistant and stain-resistant.
Where Can You Use Rocko Tiles?
The versatility of Rocko Tiles makes them suitable for various areas in your home:

Bathrooms:
Their waterproof nature and resistance to stains make them perfect for wet environments.
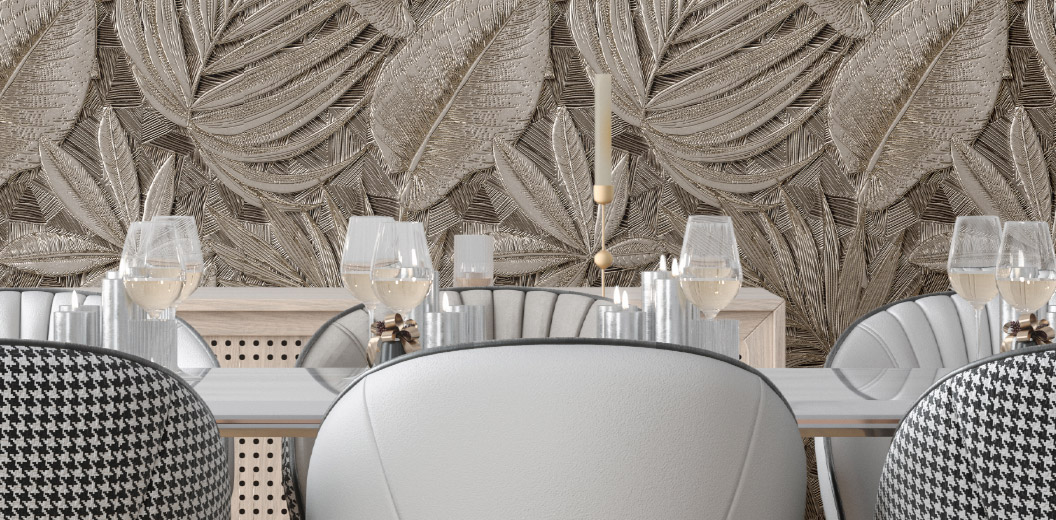
Living Rooms and Bedrooms:
Their aesthetic appeal and durability make them ideal for adding an accent wall or creating a focal point, making the room more interesting and visually appealing.
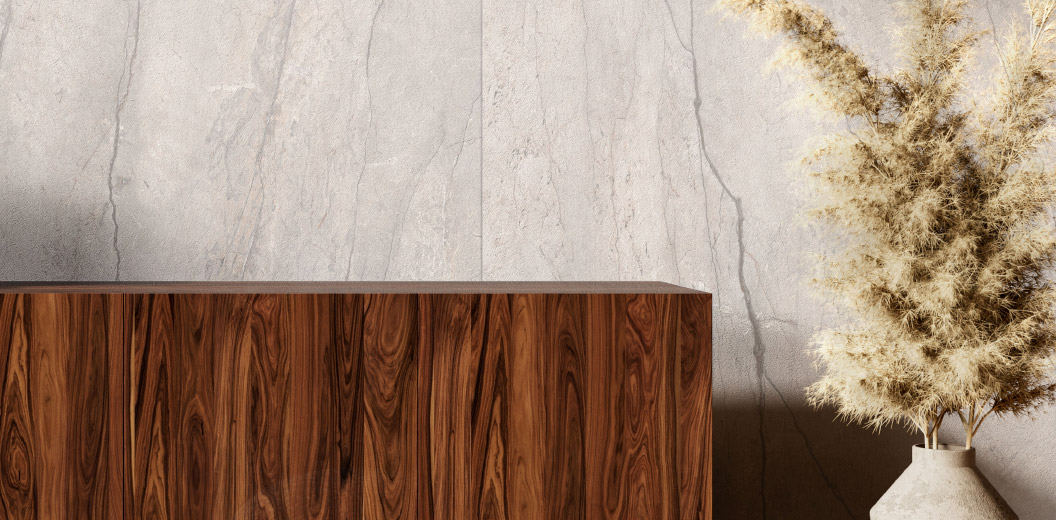
Hallways and Vestibules:
They are perfect for making a bold statement and enhancing the visual appearance of your entryways.
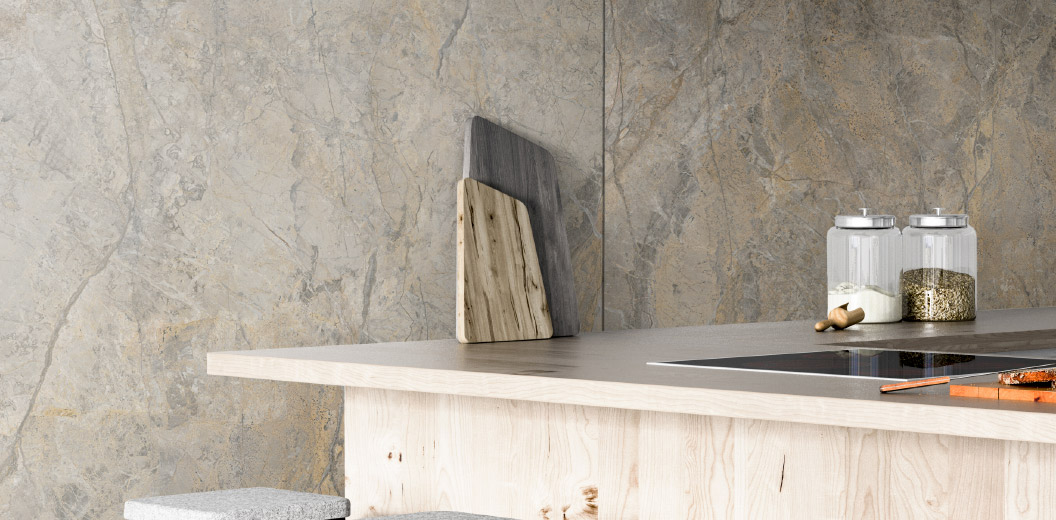
Kitchens:
They can withstand spills and splashes without losing their integrity or appearance.
Key Features

Waterproof:
Perfect for both dry and humid conditions, including bathrooms and kitchens.

Fire-resistant:
Meets the class C-s2, d0 requirements, indicating flame-retardance and moderate smoke emission.

Light Fastness:
Rated highly for resistance to sunlight, ensuring long-term color stability.

Stain Resistance:
Tested against common household substances, ensuring no permanent stains.

Dimensional Stability:
Maintains shape and size even with temperature and humidity changes.
Rocko Tiles Range
Stones:
Capture the timeless elegance of natural stone with designs that offer the look and feel of materials like marble and granite, perfect for adding a touch of luxury to any space.
Organic:
Embrace nature-inspired designs with organic patterns that bring a sense of tranquility and natural beauty into your home, ideal for creating serene living spaces.
Wood:
Enjoy the warm, inviting appearance of wood without the maintenance, with designs that replicate various wood grains and finishes, perfect for cozy and stylish interiors.
Metal:
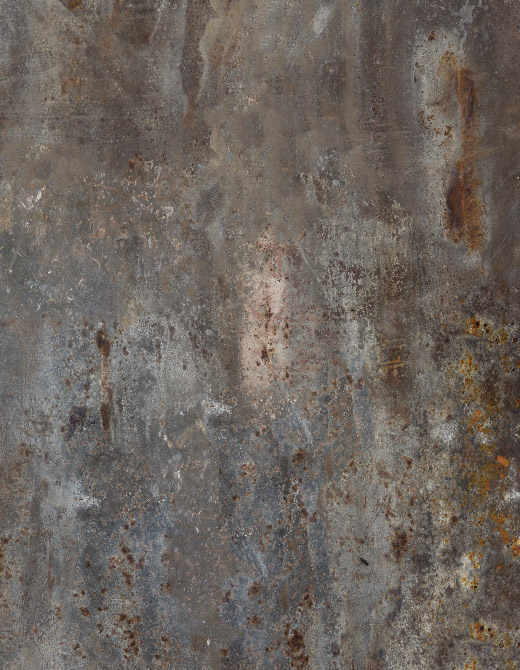
Add a modern, industrial edge to your decor with metallic designs that provide a sleek, contemporary look, ideal for kitchens and urban living spaces.
Color:
Make a bold statement with vibrant, solid colors that can be used to create eye-catching feature walls or add a pop of color to any room, perfect for creative and dynamic interiors.
How to Install Rocko Tiles
Installing Rocko Tiles is a straightforward process that can be completed with basic tools. Here’s a step-by-step guide to help you get started:
1. Acclimate the Tiles:
Store Rocko Tiles in the installation room for at least 48 hours at temperatures between 15°C and 30°C (59°F to 86°F).
2. Prepare the Substrate:
Ensure the surface is dry, clean, and free of grease. Depending on the type of substrate (wood, concrete, brick, or old tiles), follow specific preparation steps to ensure a stable base.
3. Cut the Tiles:
Use a circular saw with a guide bar to cut the tiles. Ensure cuts are made with the decorative side facing up.
4. Apply Adhesive:
Clean the back of the tiles and apply adhesive in vertical stripes at 10 cm intervals. Press the tiles firmly against the wall, leaving a ventilation gap of 2-3 mm between tiles.
5. Level the Tiles:
Use leveling clips to maintain even spacing and ensure the tiles are flush with each other.
6. Finish and Clean:
Once the adhesive has set (24-48 hours), remove the leveling clips and clean the surface with Rocko Tiles cleaning fluid.


